
Want to know how to clean all the beauty tools in your arsenal? Read on for tips on tackling anything on your beauty desk, from hot tools to powder puffs.
We’ve all harboured disdain for the state of our beauty desks at some point another. Maybe you’ve hoarded one-too-many lippies (how many do you really need?), or perhaps you’re reluctant to chuck your expired palettes (we know it just seems like a waste, but they have just got to go). Or, maybe you’ve left your brushes (of both the makeup and hair variety) unwashed for one too many months.
But here’s the thing—the only way you’re going to purge the feeling is to tackle the problem head-on.
Fortunately, we’re here to help you! Well, not with your hoarding problem (that’s between you and your rubbish bin)—but with regards to your dirt-accumulating tools, we’ve got some advice on how to clean every single one you own.
Ahead, find our cleaning guide for all of your beauty tools and applicators, separated by makeup and hair for your convenience.
Makeup tools
How to clean your Beauty Blender
What you’ll need: Liquid cleanser or bar soap
Your BeautyBlender is probably one of the dirtiest things in your beauty bag. The airy, dampened sponge is the perfect environment for mould and bacteria to thrive in, so it’s super important to make sure that you’re giving it a thorough clean every time you use it! It sounds tedious, but it really doesn’t have to be—when you go to wet it before using it to apply and blend your base, take the opportunity to give it a deep clean. How? Here are two foolproof methods:
How to: First, get your BeautyBlender thoroughly wet, and pour a little soap on it (we recommend using the Liquid BlenderCleanser from Beauty Blender, but any gentle liquid soap will do). Then, work the soap into the blender by giving it a good rub between your hands, squeezing out the dirt and makeup as you go. Repeat as necessary.
How to (II): The other way you can clean your BeautyBlender is with a bar of soap. To get it squeaky clean, use the bar soap on your BeautyBlender under running water. Squeeze intermittently until the water runs clear, and you’ll have a sparkling clean sponge in next to no time!
How to clean your cushion puffs
What you’ll need: Gentle brush cleanser or face wash
If you find that you’re breaking out, the first culprit to look out for are probably your powder and cushion puffs. If you ask us, you’re looking at a puffy bath time at least every one to two weeks to keep the bacteria at bay.
How to: Cleaning your puffs is almost similar to cleaning your sponges—the key is lots of soapy, lukewarm water, and a hefty amount of squeezing. A gentle brush cleanser or face wash works wonders or, if you’re in a pickle, any old mild soap or shampoo will do in its place.
Alternatively, if it’s a fabric puff like the Laura Mercier cushion puff, you could invest in a lingerie laundry bag and chuck it in the washing machine with the rest of your delicates. Then, dry it off on a towel after squeezing out the excess, or hit it with a (clean) blowdryer.
How to clean your makeup brushes
What you’ll need: A brush cleaner or shampoo
We already know why we need to wash our brushes. Apart from making sure you’re not muddying up your eyeshadow palettes and your flawless bases, you also just want to prevent bacteria from thriving.
How to: Click here for the pro tips. TL;DR?
- Apply the soap to the bristles
- Work up a lather by brushing it against your hands (or a cleansing board)
- Then, rinse till the water runs clear
- Most importantly, remember to reshape the bristles then dry the brush laying flat
How to clean your eyelash curler
What you’ll need: Rubbing alcohol or makeup remover
Believe it or not, your eyelash curler needs cleaning every time you use it. “But it only touches my eyes before I’ve even put any eye makeup on,” you think. “Surely it can’t have gotten dirty from that alone.”
Wrong—the natural oils on your lid, in addition to your base, your primers and SPF all leave an oily residue on the plate of your curler. It’s important not to let this gunk build up, lest you get a stye.
Not to mention, if you’re one of those people who likes to double down on the curling action after mascara, then that thick layer of mascara (especially waterproof mascara) that has built up on the plate needs to be dealt with ASAP.
How to: Only use your curler before mascara, to avoid the heinous amounts of product buildup. That way, all you’ll need is to give the curler a pass with some makeup remover or rubbing alcohol after every use.
If you must double down, however, you need to make sure you clean off the residue before it dries so you can avoid a headache. The key? Going at it with the right makeup remover. If it works on your eye, chances are it’ll work on your curler.
TIP: If you’re partial to the waterproof kind, you’re going to need a more heavy-duty makeup remover. Oil-based removers like micellar water will work a charm—just make sure you’re getting rid of the excess oily residue with some rubbing alcohol.
How to clean your mascara wand
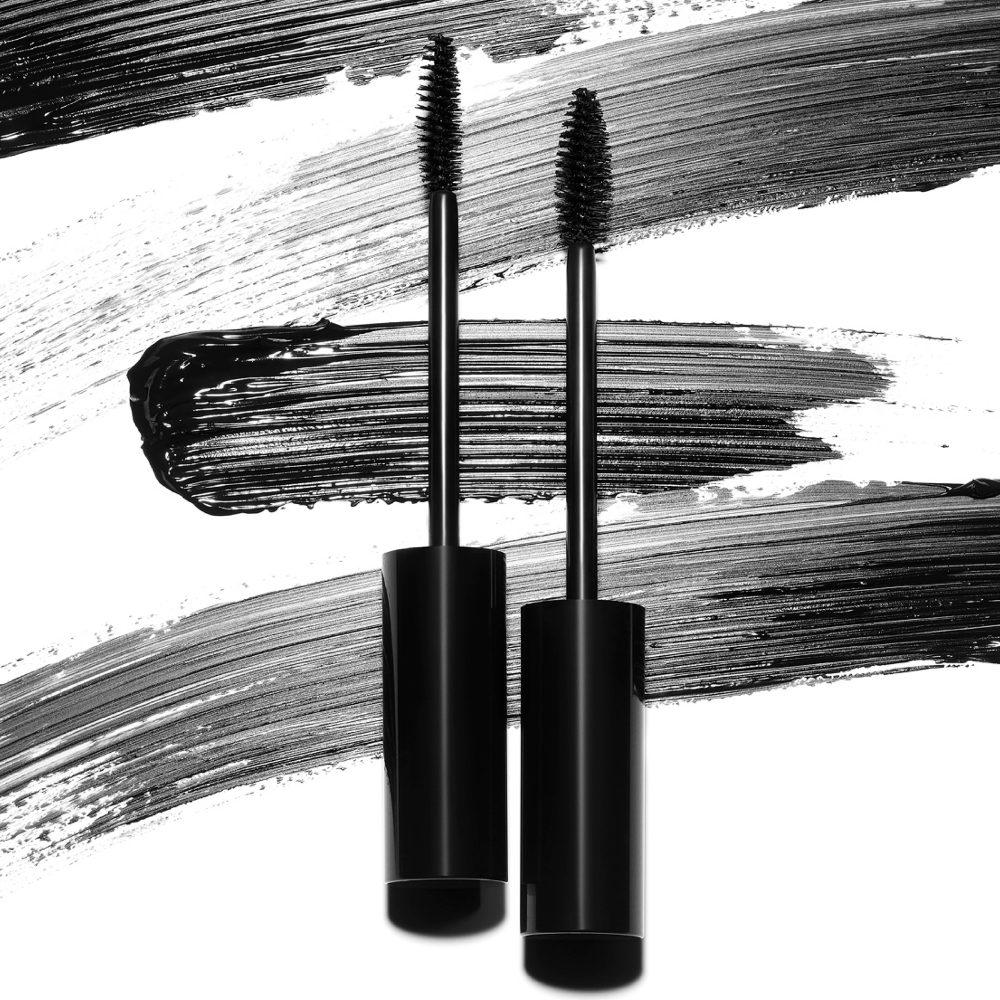
What you’ll need: Warm water and face cleanser
It’s not the most intuitive thing you’d gravitate towards when you think about cleaning your beauty tools, but it’s genuinely important! Over time, your mascara dries around the wand, making the application process clumpy and hard to deal with.
How to: The goal here is to loosen the dried product and get the wand back into shape.
- First, go in with some kitchen towel to get the bulky bits of dried mascara off
- Then, prepare a small bowl of warm water with some facial wash to soak the wand in. This will loosen the product and allow you to wash it
- Once all the excess product is removed, dry it thoroughly before replacing
Hair tools
How to clean your hairbrush
What you’ll need: Comb (something fine enough to get between the bristles), shampoo and a toothbrush
How to:
- Use the comb to dislodge any hairs from the bristles, then get ready to soap up
- Swish the head of the brush around in some water
- Then, dispense a few drops of shampoo (preferably of the gentle, cleansing type) and work it into the base of the bristles with the old toothbrush
- It’s time to scrub-a-dub-dub until the buildup is gone and the water runs clear
- Finally, dry the brush with the bristles facing down. This part is particularly important—drying it face up may damage the cushion of the bristles
Note: If your brush is made out of anything porous like wood, then make sure you’re thorough with the drying.
How to clean your comb
What you’ll need: Soap, water and rubbing alcohol (optional)
Now, once you’re done using your comb to weed out the stray hairs stuck in your brush, it’s time to get to cleaning it.
How to:
- Get it nice and soapy in the sink
- Give it a thorough rub down
- Dry once it’s done. If you’re extra or you’re looking to tackle more stubborn residues (think hairspray or hair gel), give it a once-over with some rubbing alcohol.
How to clean your hot tools
What you’ll need: Rubbing alcohol and basically hard labour
Your poor hair straightener is caked in years of sticky product buildup and regret, so do it a solid and give it a good clean. Before you do, though (this should go without saying), please make sure your hot tools are off and unplugged before you even think about hitting them with a deep clean.
How to:
- For metal plates, the best course of action is to get rubbing alcohol on a cloth (cotton balls work too) and swab them all over the plates.
- Focus in on any stubborn spots until they are all cleaned up—this should get rid of most of the product buildup and any pesky staining you may encounter.
However, if you happen to have a ceramic tool, you need to be careful not to damage the finish. Instead, go over the plates with a damp cloth and a tad of mild soap. Just remember to ensure you’re not soaking the device in water (this would be very bad) and that you dry the tool completely before using.
If you’re feeling thorough, you could also just invest in a professional iron cleaner to get the job done.
How to clean your hairdryer
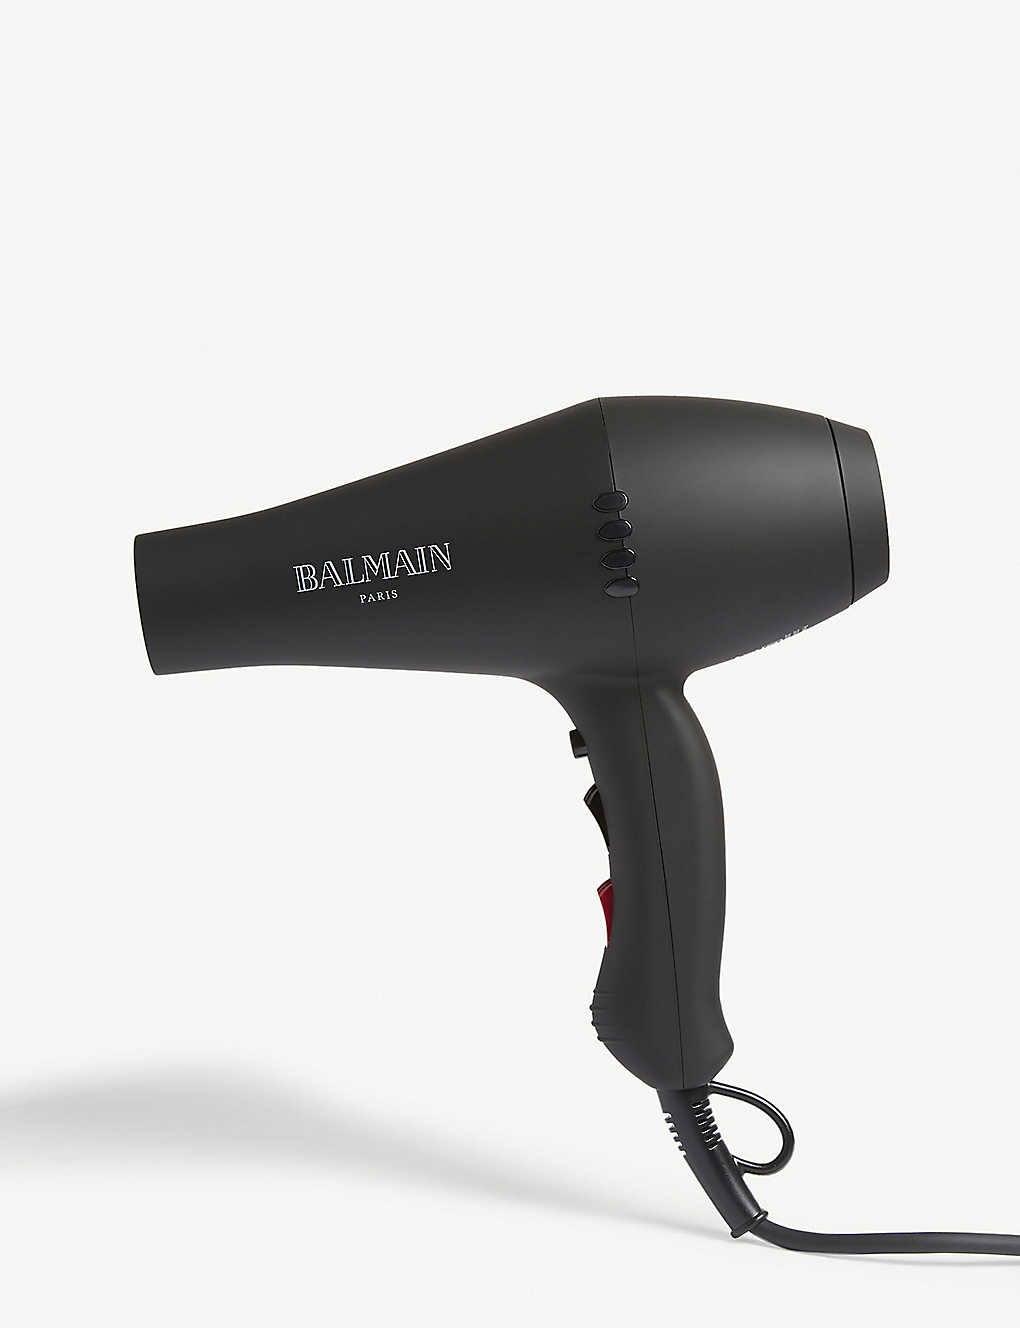
What you’ll need: A toothbrush, rubbing alcohol
Unless you’ve got a saucy Dyson Supersonic on your hands, you’ll probably need to heed our advice here. Is your hairdryer getting a little too hot? Does it give off a ‘freshly-barbecued’ smell when you use it? Chances are, your dryer vent needs a big vacuum. Clearly, neither of the red flags above are particularly good omens—leaving your dryer vent to collect dust puts you at the risk of unnecessarily long drying times and a potential fire hazard. So, how do you fix it?
How to:
- You’ll want to remove your back cover (please refer to the relevant instruction manuals to do this, lest you risk breaking the whole appliance)
- Then, get a hold of that pesky filter causing mischief and remove all the lint
- Once the bulk of the obstruction is out, it’s time for some detailing—you can use whatever you can find to get the job done. We find that an old toothbrush is pretty effective here (just please don’t put it in your mouth after)
- Finally, reassemble your dryer and give the exterior a rubdown with some rubbing alcohol. Again, just make sure it’s bone dry before you use it next.
How to clean your tweezers
What you’ll need: Rubbing alcohol and a nail file
Okay, so it’s not quite a hair tool. But, it does pluck unwanted hairs so we’re counting it here! Anyway, this should come as no surprise, but your tweezers need to be cleaned after every use to prevent infections.
How to: It’s really simple—give them a wipe down with some rubbing alcohol or some alcohol wipes and you’re good to go! Plus, if you find they’re looking a little duller, you can sharpen them back up with a nail file.
How to clean your hair accessories
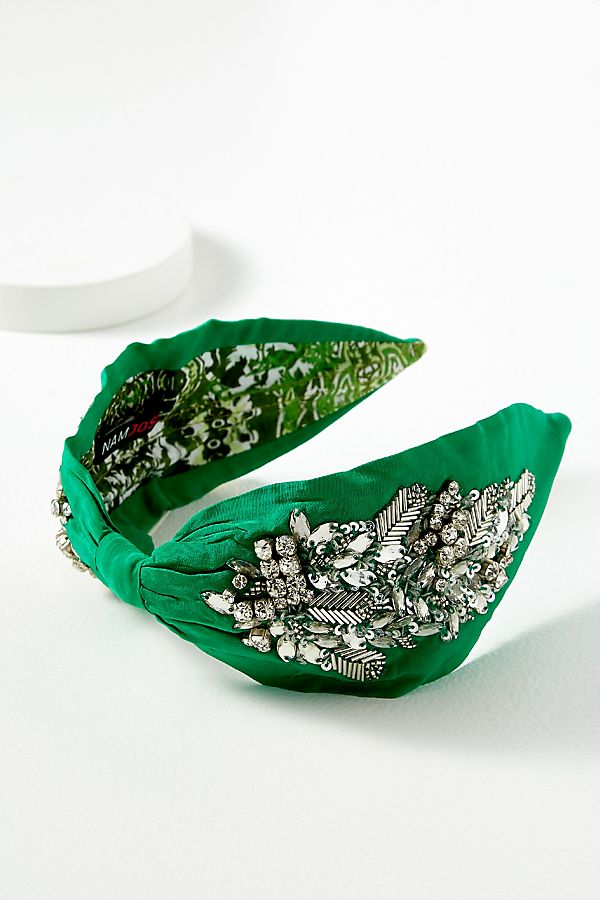
What you’ll need: Mild soapy water
Everything from your hats to your headbands to your scrunchies and even your hair clips need a wash once in a while. Not to point fingers, but we’re especially talking about your sweaty gym hair elastic/sweatband combo.
How to: Chuck ‘em in some mild, soapy water once in a while, gently work it through and give it a good dry before you use it again.
TIP: If even that is too much effort, just chuck them in the lingerie laundry bag you got for your powder puff and into the washing machine it goes!
For more beauty tips, click here.
| SHARE THE STORY | |
| Explore More |


